
티스토리 뷰

Vue Mastery에 Intro 학습하고 나서 Todo App을 구현해 봤다. 프로젝트는 Vue CLI로 손쉽게 구성할 수 있었다. Vue CLI 설치한 후 vue ui 명령을 수행하면 프로젝트를 웹페이지에서 쉽게 설정할 수 있다. 👍

.prettierrc.js 파일을 설정하여 몇 가지 규칙을 추가했다.
module.exports = {
    singleQuote: true,
    semi: false,
}
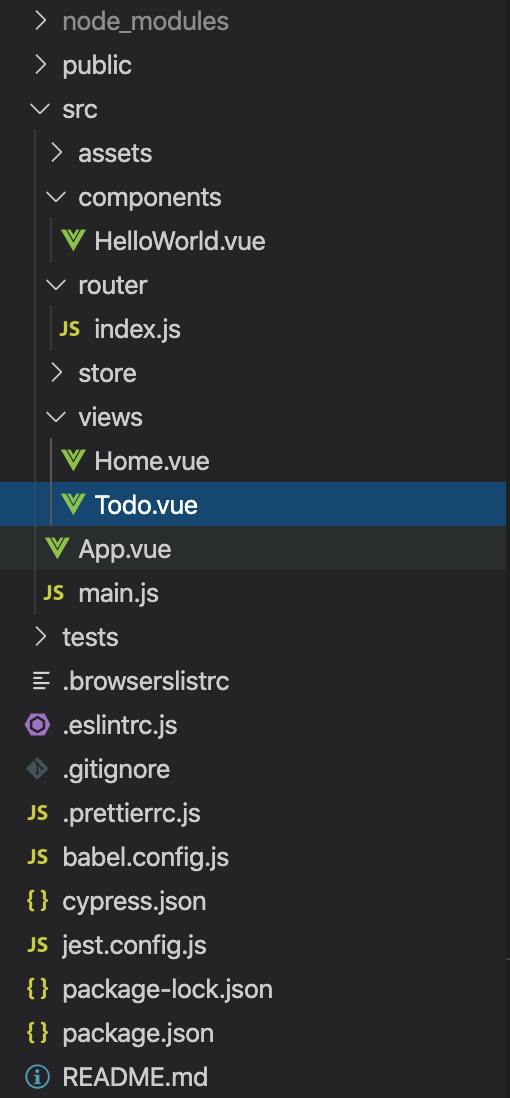
프로젝트를 생성하면 기본적으로 만들어 주는 페이지 중에 Home은 그대로 두고 About 페이지를 Todo로 변경해서 진행했다.
구현한 기능은 다음과 같다.
- 할일 추가, 삭제, 수정
- 완료된 할 일 목록, 남은 할 일 목록, 전체 할 일 목록 보여주기
- 완료한 할일 모두 삭제
<template>
  <div class="todo">
    <h1>Todo App</h1>
    <div>
      <input type="text" v-model="input" @keyup="inputTodo" />
      <button type="button" @click="addTodo">
        {{ editTodo ? 'Edit' : 'Add' }}
      </button>
    </div>
    <div>
      <ul>
        <li v-for="todo in filteredTodos" :key="todo.id">
          <input type="checkbox" v-model="todo.completed" />
          <span @dblclick="modifyTodo(todo)">{{ todo.text }}</span>
          <button type="button" @click="removeTodo(todo)">delete</button>
        </li>
      </ul>
    </div>
    <div>
      <button type="button" @click="showAll">All</button>
      <button type="button" @click="showActive">Active</button>
      <button type="button" @click="showCompleted">Completed</button>
      <button
        type="button"
        @click="removeCompleted"
        v-show="todos.length > remaining"
      >
        Clear completed
      </button>
    </div>
  </div>
</template>

<script>
export default {
  name: 'Todo',
  data() {
    return {
      input: '',
      todos: [],
      visibility: 'all',
      editTodo: null
    }
  },
  methods: {
    addTodo() {
      if (!this.input.trim()) return

      if (this.editTodo) {
        const todo = this.todos.find(todo => todo.id === this.editTodo.id)
        todo.text = this.input
        this.input = ''
        this.editTodo = null
        return
      }

      this.todos.push({
        completed: false,
        id: `todo-${Date.now()}`,
        text: this.input
      })
      this.input = ''
    },
    inputTodo(event) {
      if (event.key === 'Enter') {
        this.addTodo()
      }
    },
    modifyTodo(todo) {
      this.editTodo = todo
      this.input = todo.text
    },
    removeTodo(todo) {
      this.todos.splice(this.todos.indexOf(todo), 1)
    },
    showAll() {
      this.visibility = 'all'
    },
    showActive() {
      this.visibility = 'active'
    },
    showCompleted() {
      this.visibility = 'completed'
    },
    removeCompleted() {
      this.todos = this.todos.filter(todo => !todo.completed)
    }
  },
  computed: {
    remaining() {
      return this.todos.filter(todo => !todo.completed).length
    },
    filteredTodos() {
      if (this.visibility === 'all') {
        return this.todos
      } else if (this.visibility === 'active') {
        return this.todos.filter(todo => !todo.completed)
      } else if (this.visibility === 'completed') {
        return this.todos.filter(todo => todo.completed)
      } else {
        return []
      }
    }
  }
}
</script>
template 태그 안에 렌더링 할 html 코드를 옮겼다. 예제를 하면서 template 옵션에 문자열로 넣었던 것보다는 가독성이 훨씬 좋아졌다.
style 태그에 css 넣을 수 있지만 기능 구현 위주라 스타일은 아무것도 넣지 않았다.
리액트에서는 없던 computed가 익숙하지 않아 all, active, completed 버튼이 눌렀을때 filter 된 데이터를 담아주는 필드를 하나 추가했었다. vue.js 공식 사이트에서 구현한 방식을 보니 computed로 되어 있어 방식으로 바꿨더니 무척 간단했다. 😉

댓글